
Cable installation:
Cable Works Process Description
Cable works encompass the supply, routing, installation, connection, and testing of electrical power and control cables. The process is critical to ensure the reliable transmission of electrical energy and system communication across the project site.
- Pre-Installation Preparation
- Material Verification:
- Inspect delivered cables for correct type, size, and insulation class as per specifications (e.g., XLPE, PVC, armored or unarmored).
- Check cable drum condition, labeling, and documentation.
- Route Survey:
- Verify and mark cable routing on-site using approved drawings.
- Confirm trench, tray, duct, or conduit paths are clear, accessible, and match the cable schedule.
- Cable Trenching and Conduit Installation
- Excavation:
- Excavate trenches to required depth and width (typically 60–120 cm deep depending on voltage level and soil condition).
- Maintain separation between power and control cables.
- Cable Ducts/Conduits:
- Install HDPE/PVC ducts where applicable, especially at road crossings or under structures.
- Use spacers and route markers for multi-cable ducts.
- Bedding and Protection:
- Place a 10–15 cm layer of sand or soft soil bedding before laying cables.
- After cable placement, cover with another 10–15 cm sand layer, followed by cable tiles or warning tape.
- Backfill and compact remaining trench material in layers.
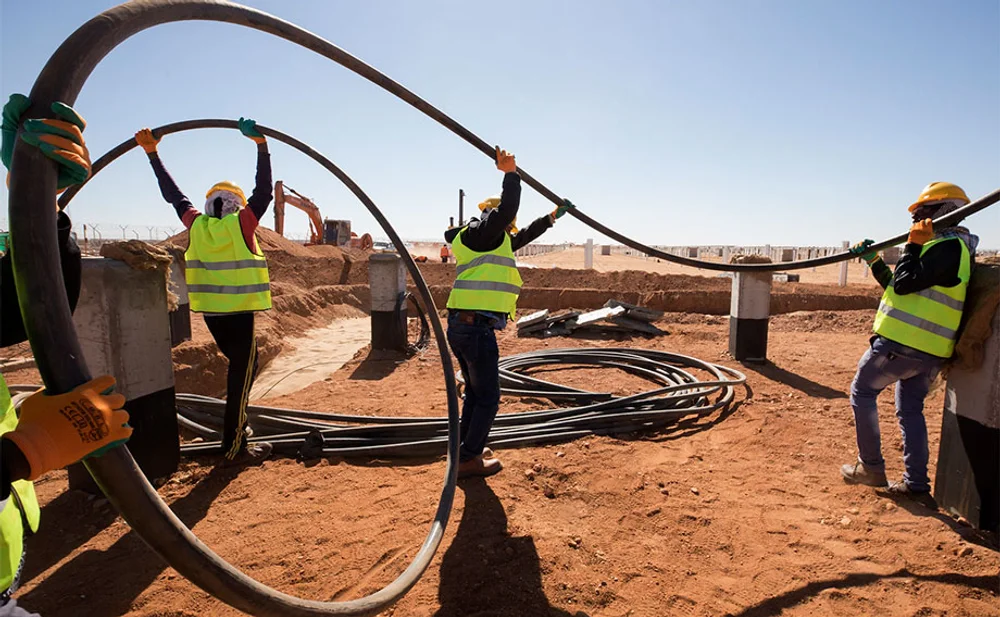
- Cable Laying
- Laying Method:
- Use cable rollers or jacks to support and guide cables, avoiding direct contact with the ground.
- Unwind cables from the drum in the direction that prevents twisting or damage.
- Maintain minimum bending radius and avoid excessive pulling tension per cable manufacturer’s guidelines.
- Cable Segregation:
- Keep appropriate separation between LV, MV, HV, and control cables.
- Install cables in trays, trenches, or conduits as per design layout.
- Cable Termination and Jointing
- Preparation:
- Strip insulation carefully to avoid damaging conductors or shielding.
- Clean and prepare cable ends using approved tools and materials.
- Termination:
- Install cable glands, lugs, or connectors using proper crimping or bolting techniques.
- Terminate into switchgear, inverters, transformers, or junction boxes according to design.
- Jointing (if required):
- Use heat-shrink or cold-shrink joints for MV/HV cables.
- Ensure joints are water- and moisture-proof.
- Earthing:
- Bond metallic sheaths, armor, or screens to the site earthing system as per design.
- Cable Identification and Labeling
- Label all cables at both ends and at regular intervals along their route using weatherproof and UV-resistant markers.
- Use color-coded sleeves or tags to identify cable types and phases.
- Testing and Commissioning
- Insulation Resistance Test (Megger Test): Verify insulation integrity of each cable.
- Continuity Test: Ensure complete and correct connection from source to termination point.
- High Voltage Test (for MV/HV cables): Apply test voltage to detect insulation faults.
- Phase Verification: Confirm correct phasing, polarity, and sequence.
- Safety and Environmental Considerations
- Ensure all electrical works are performed by certified electricians.
- Follow lockout/tagout (LOTO) procedures for any live connections.
- Use cable warning tape and route markers for buried cables.
- Prevent cable exposure to heat, water, or mechanical damage during and after installation.